
ここまでで、WordPressで構築されたWebサイトを常時SSL化し、WooCommerce対応させました。
次に、WebサイトにApple Payでの決済を組み込んでいきます。まずはテストモードで動かせるようにStripeの設定を進めていきます。
WordPressにプラグインをインストール
- WooCommerceにStripeの決済を組み込むためのプラグイン「WooCommerce Stripe Payment Gateway」をインストールします。
- Apple Payのドメイン認証を行うためのファイルを追加するプラグイン「Verify domain for Apple Pay with Stripe」をインストールします。
これらはWooCommerceの初期設定時にすでにインストールされているかもです。
Stripeの設定
Stripeは、Webサイトにさまざまな決済方法を導入できるサービスで、Apple Payにも対応しています。
「アカウント登録」からアカウントを作成します。
Stripe
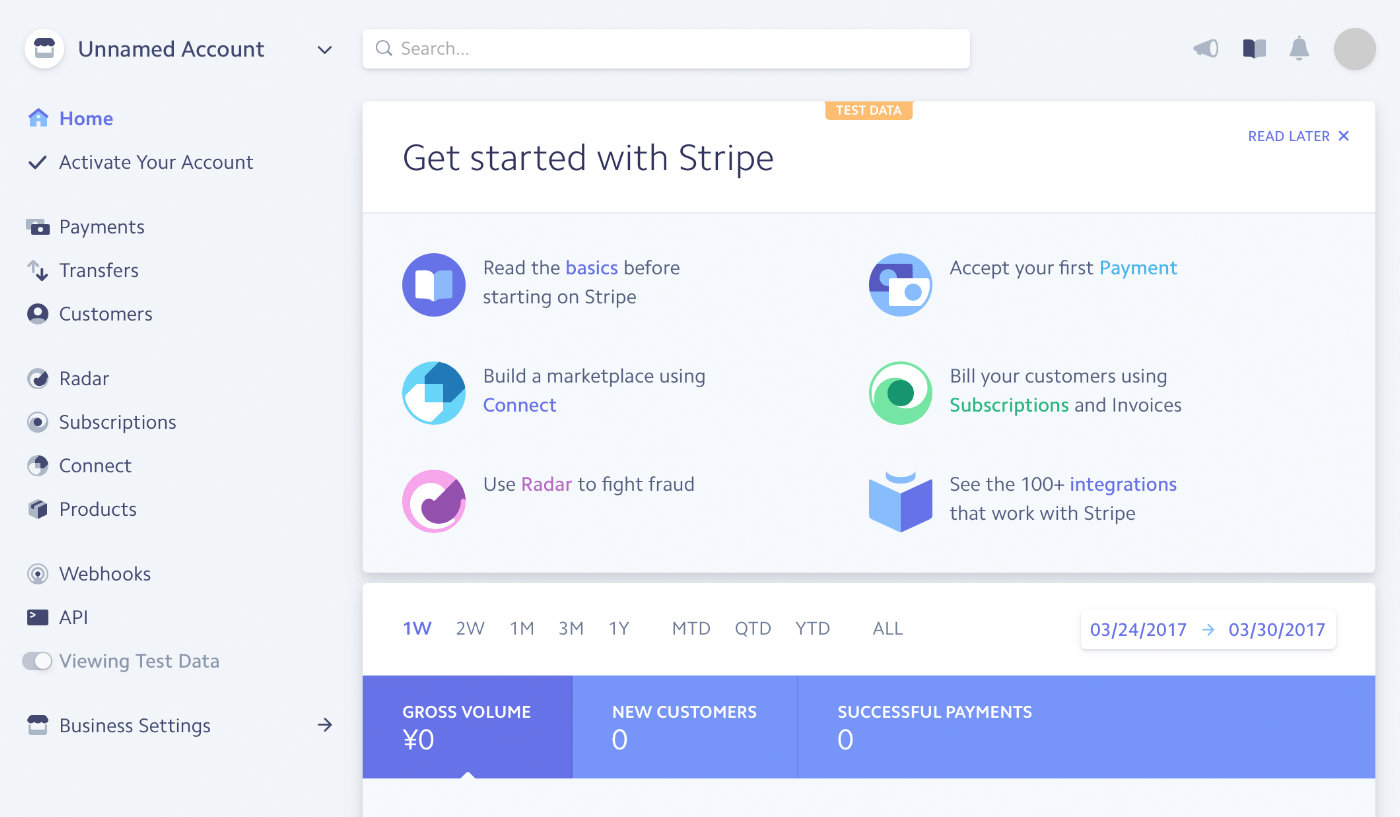
ログインするとこんな画面。
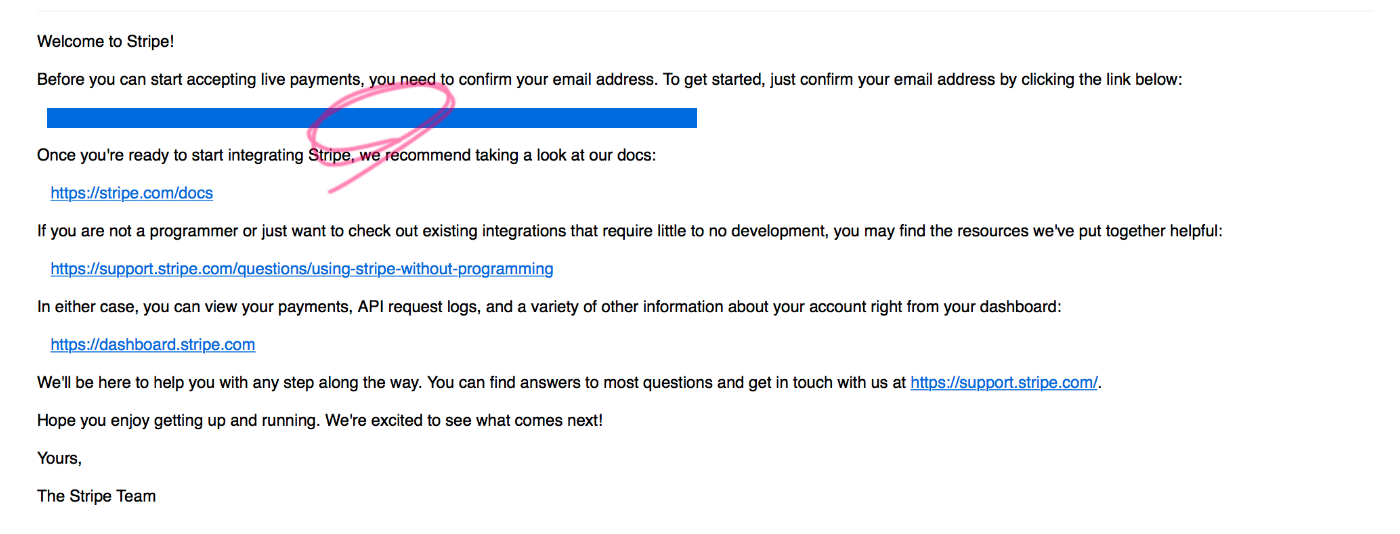
メールアドレス確認のためのメールが届くので、リンクをクリックします。
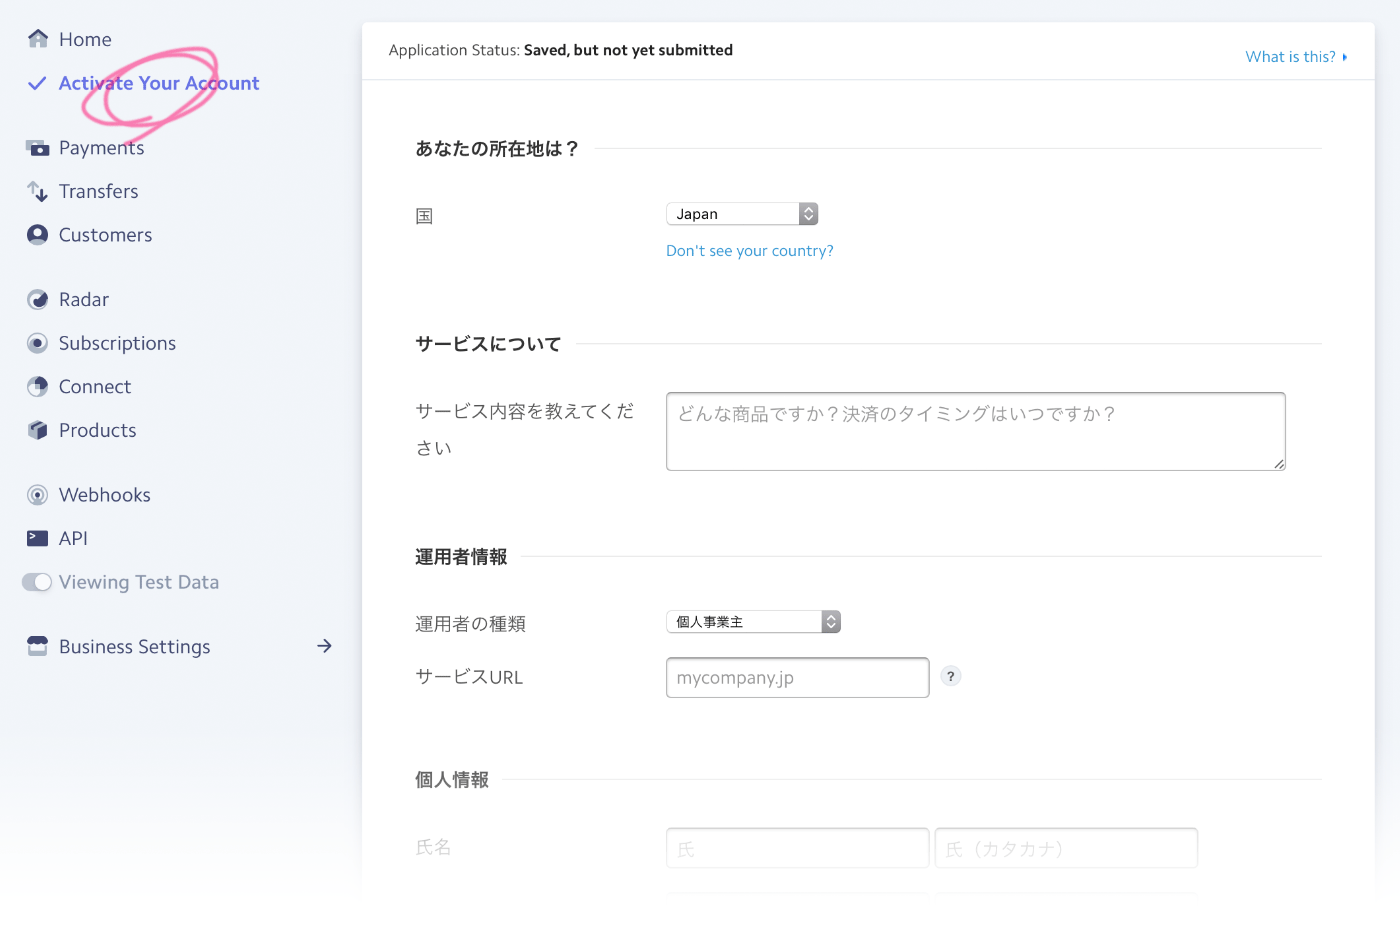
「Activate Your Account」から情報を入力して、アカウントをアクティベートします。
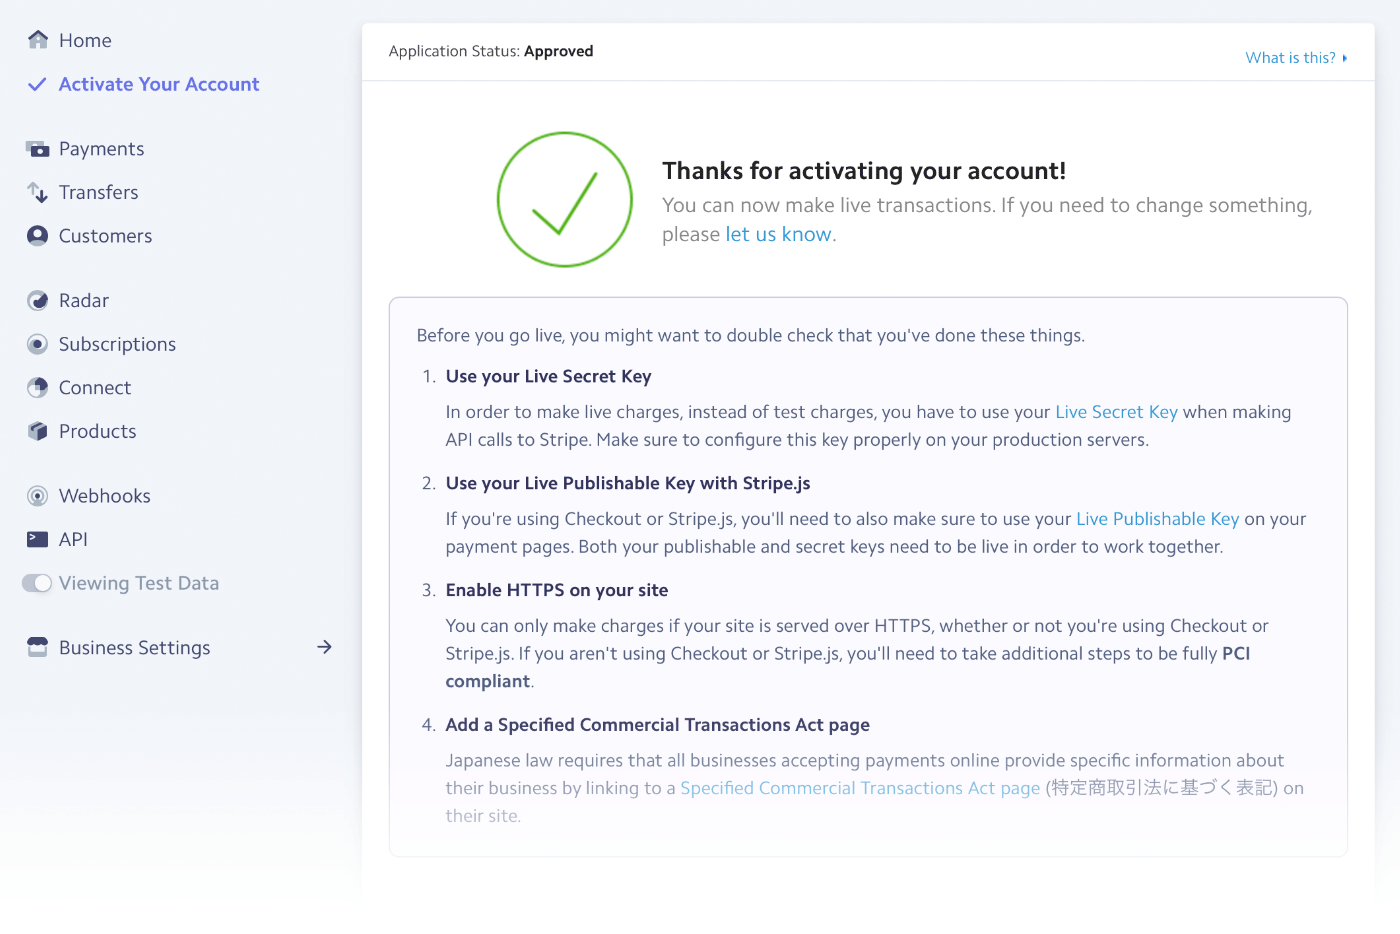
承認されました。
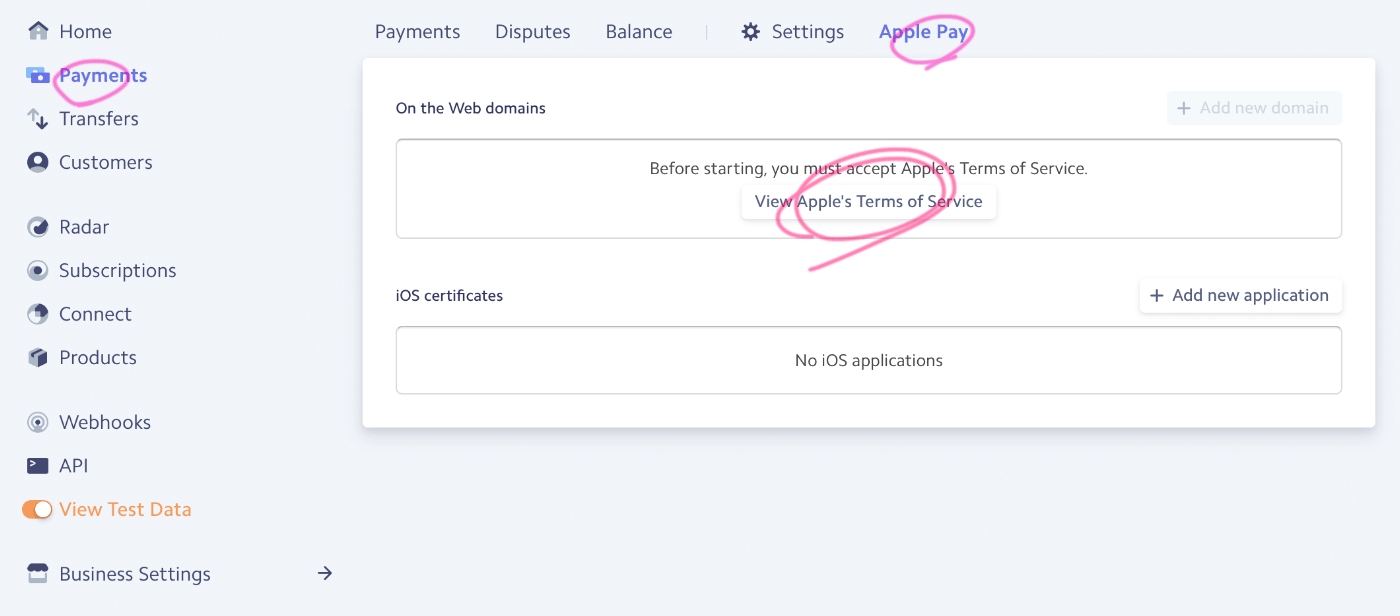
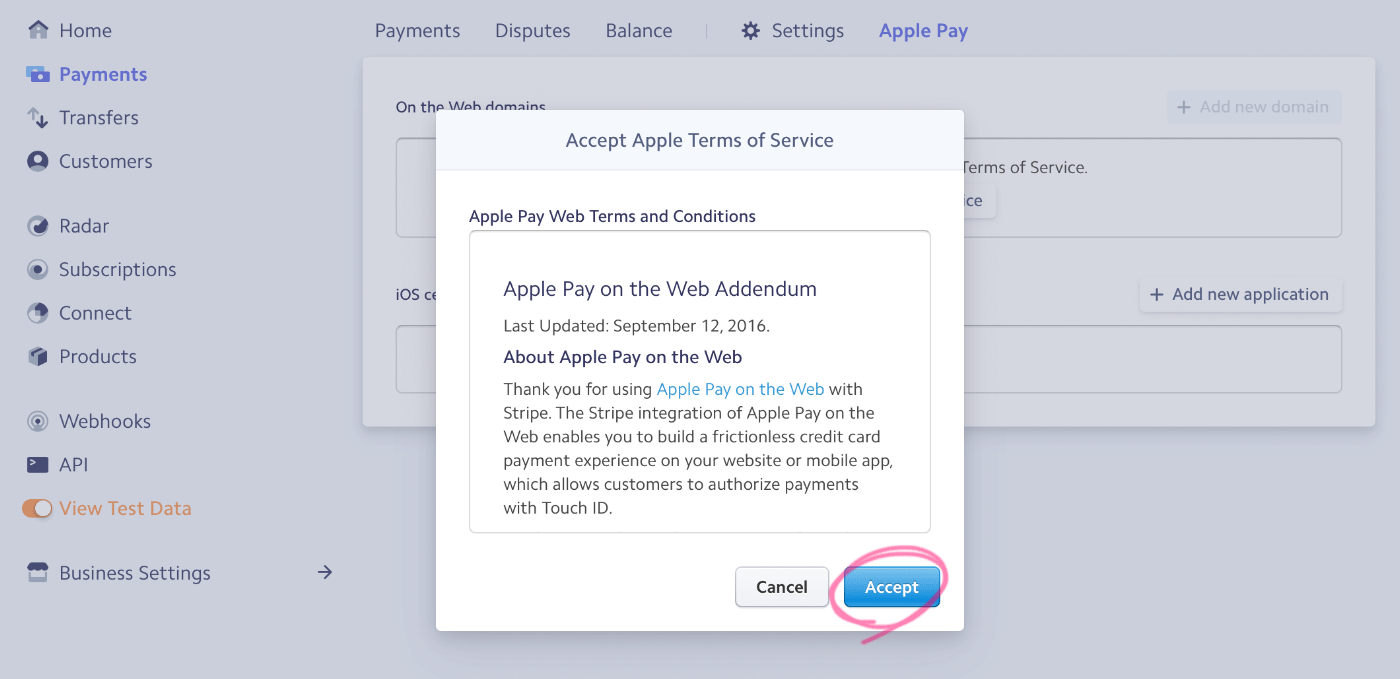
「Payments」の「Apple Pay」タブから「View Apple’s Terms of Services」をクリックしてAcceptへと進みます。
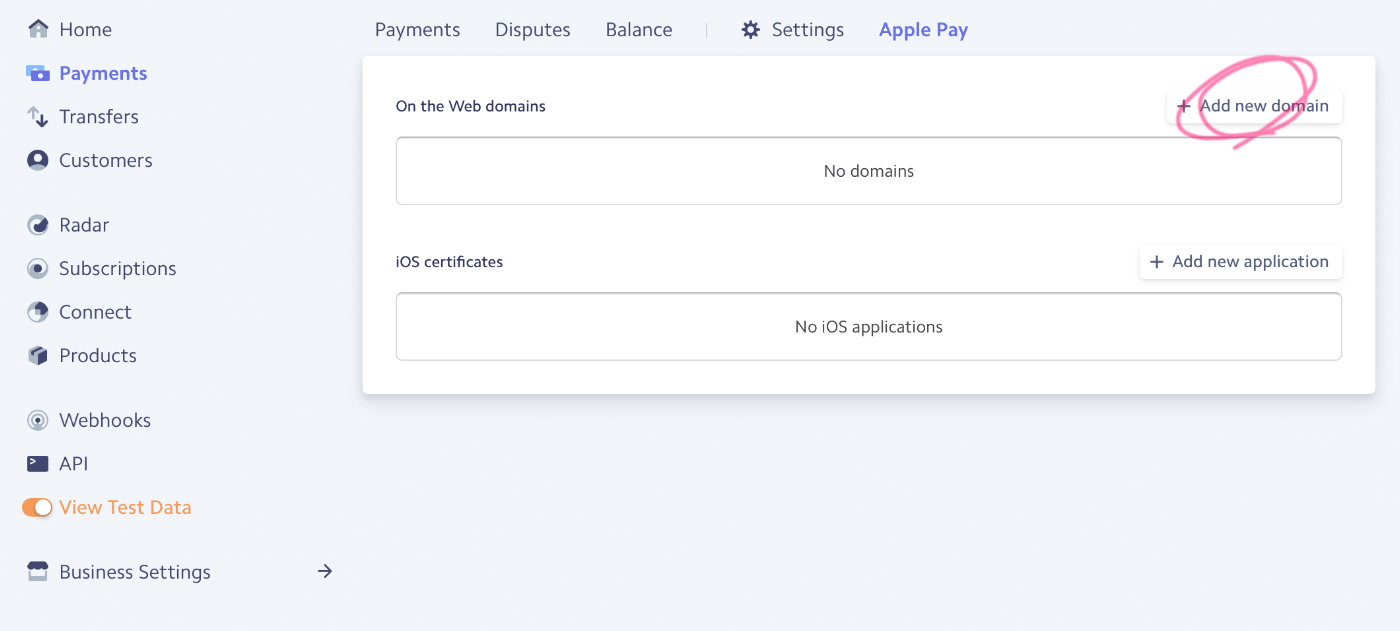
「+Add new domain」から、Apple Payを利用するドメインを追加します。
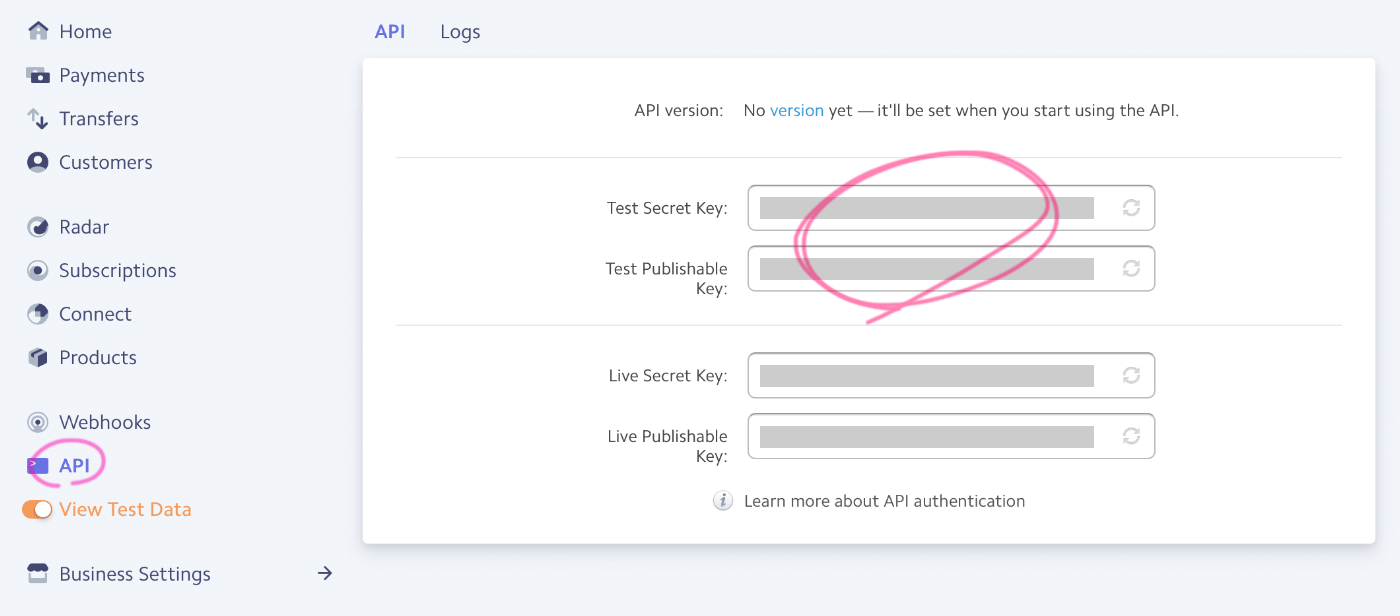
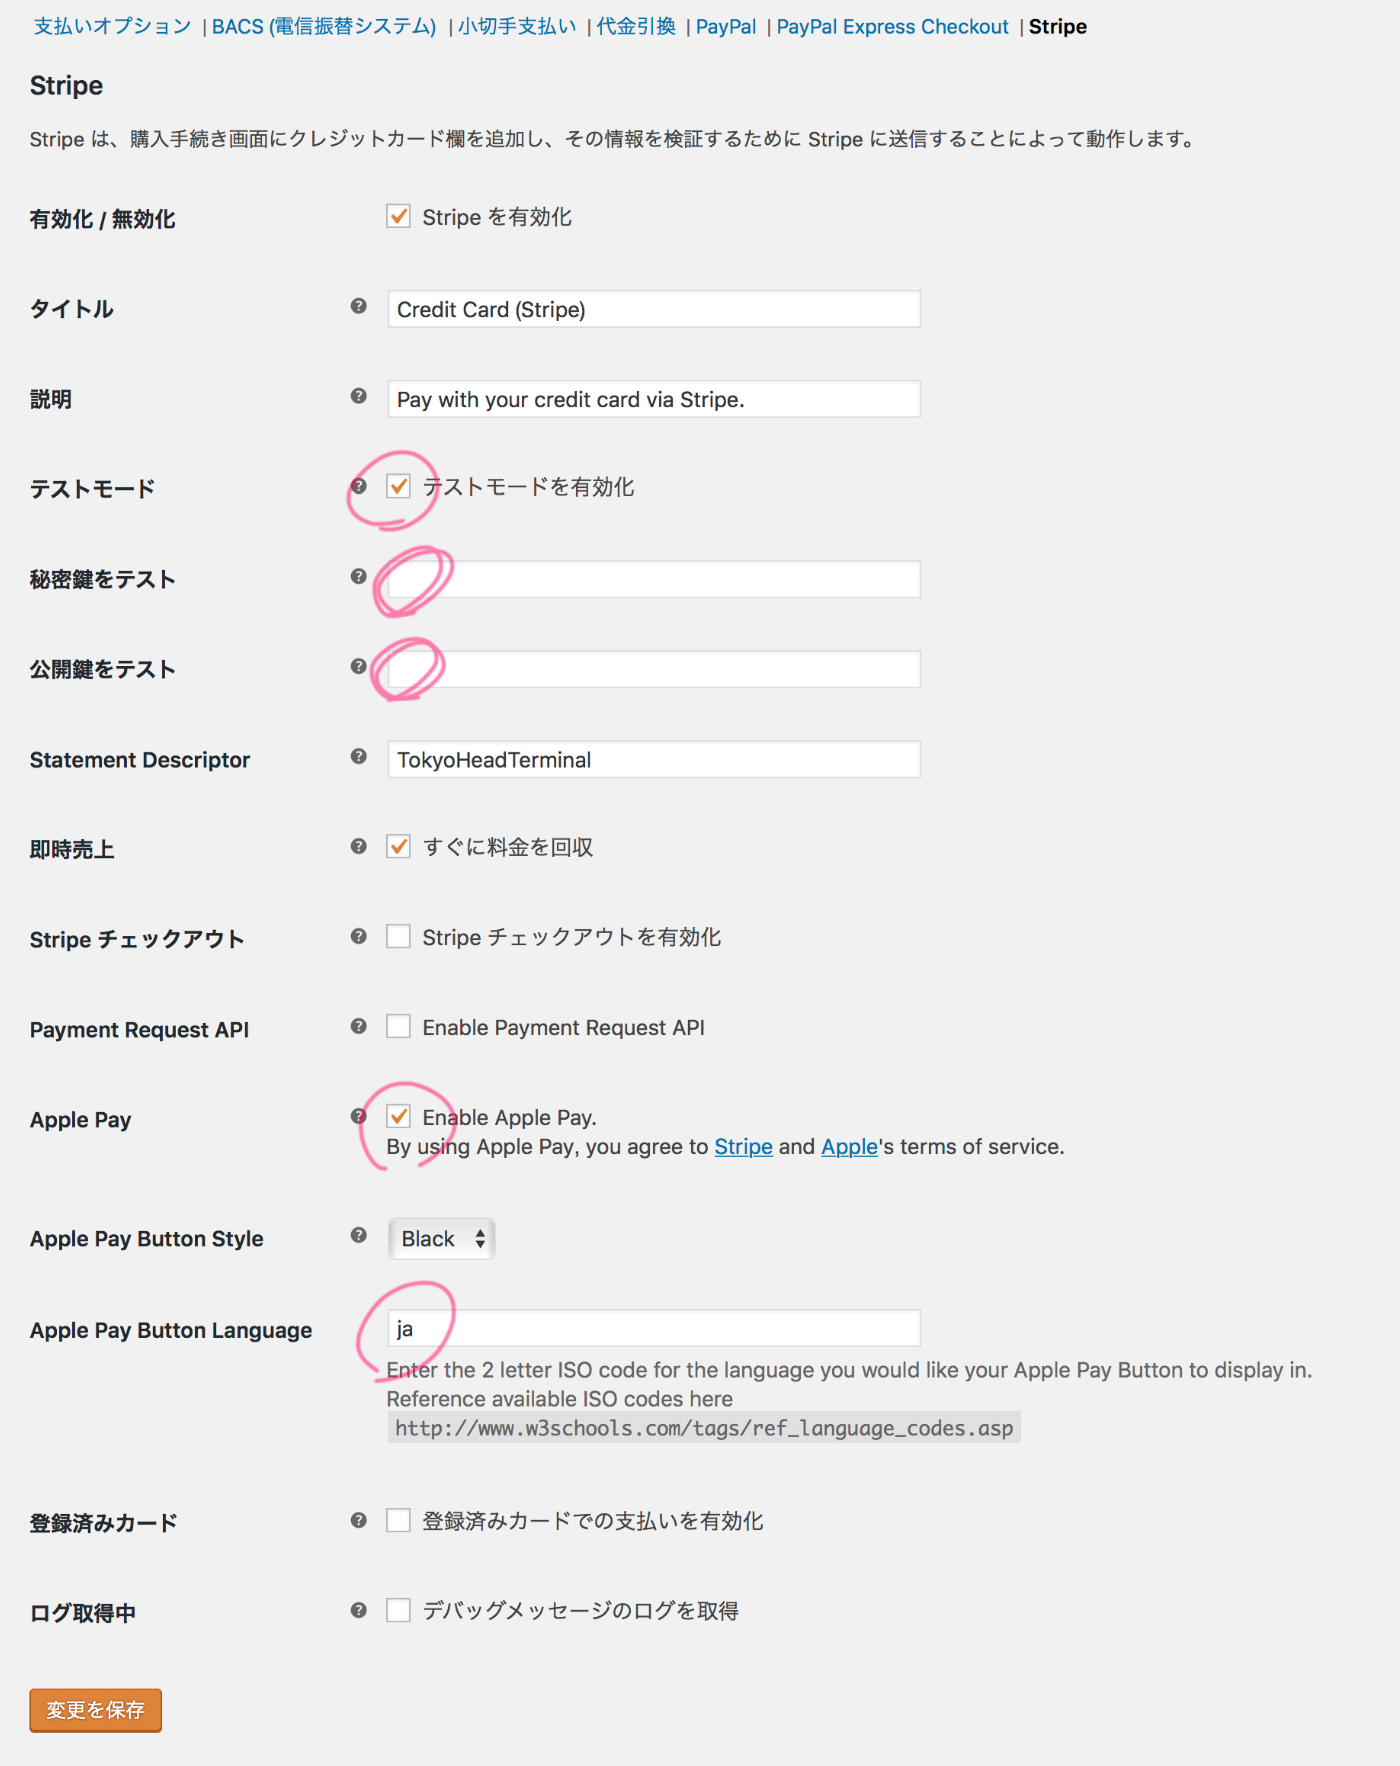
「API」からAPIキーを取得します。テスト用の秘密鍵(Test Secret Key)と公開鍵(Test Publish Key)をコピーしておきます。
WordPress管理画面の「WooCommerce > 設定」から「Apple Pay Button Language」を「ja」に変更し、秘密鍵と公開鍵を入力します。
テストモードの設定は完了です。ライブ(本番)モードに向けて、次はApple Developer Programの登録を行っていきます。
こちらの関連記事もあわせてどうぞ!


いま流行りの、WordPress の管理画面にログインを試みよ…