
WordPressで構築したWebサイトにApple Payでの決済を組み込みます。次はライブ(本番)モードで動かせるようにApple Developer Programで証明書の設定などを行っていきます。
- wpXクラウド|ドメイン設定と常時SSL化
- WordPress|WooCommerceに対応させる
- WordPressでApple Pay|テストモードの設定まで
- Apple Developer Program|いつも使っているApple IDでの登録方法
Apple Developer Programで証明書の設定
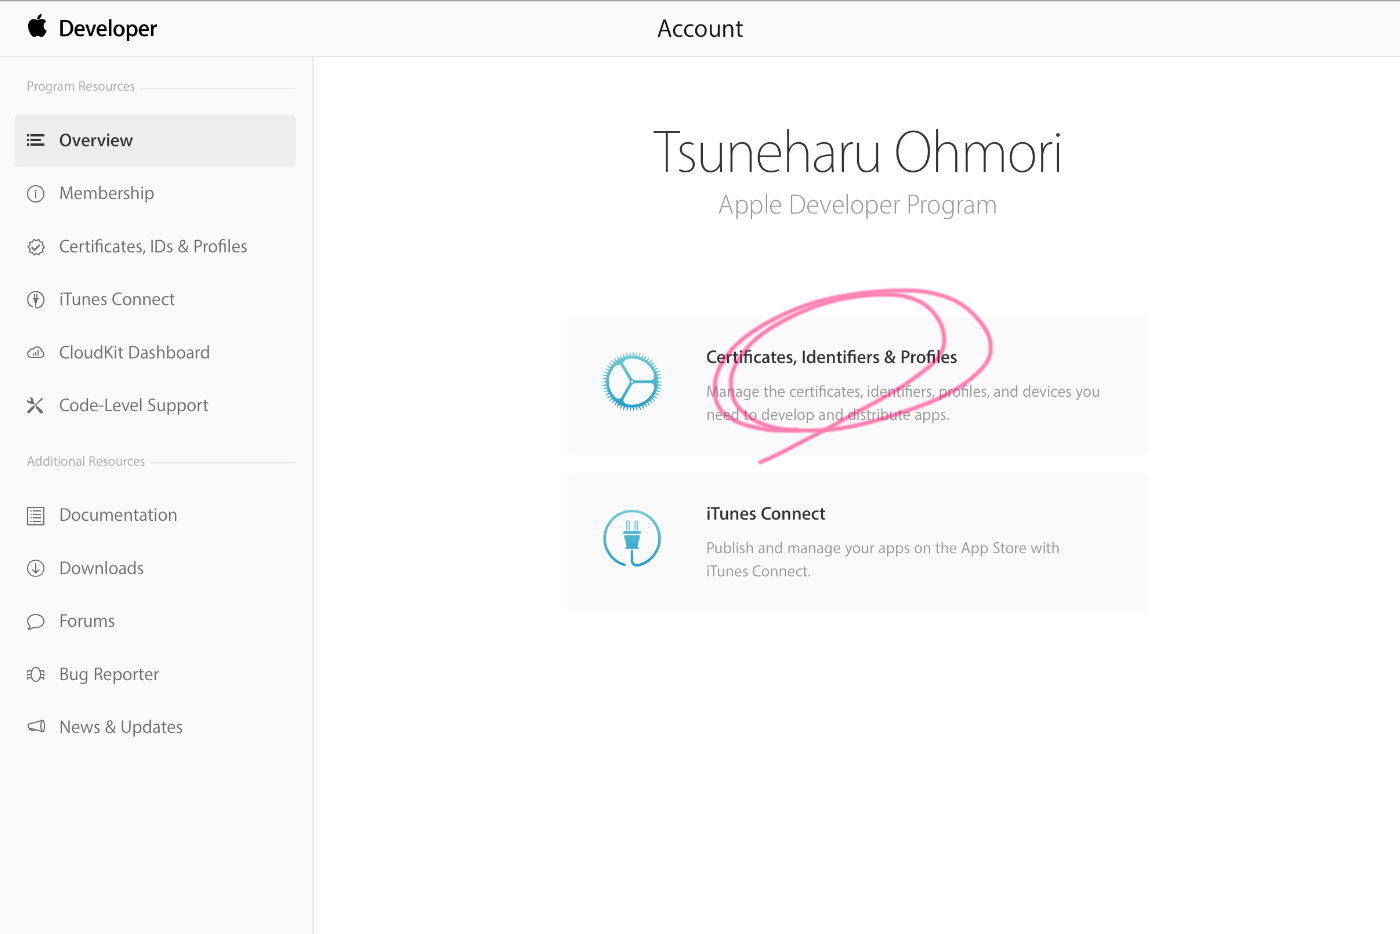
Apple Developer Programにアクセスし、「Certificates, Identifier & Profiles」を選択します。
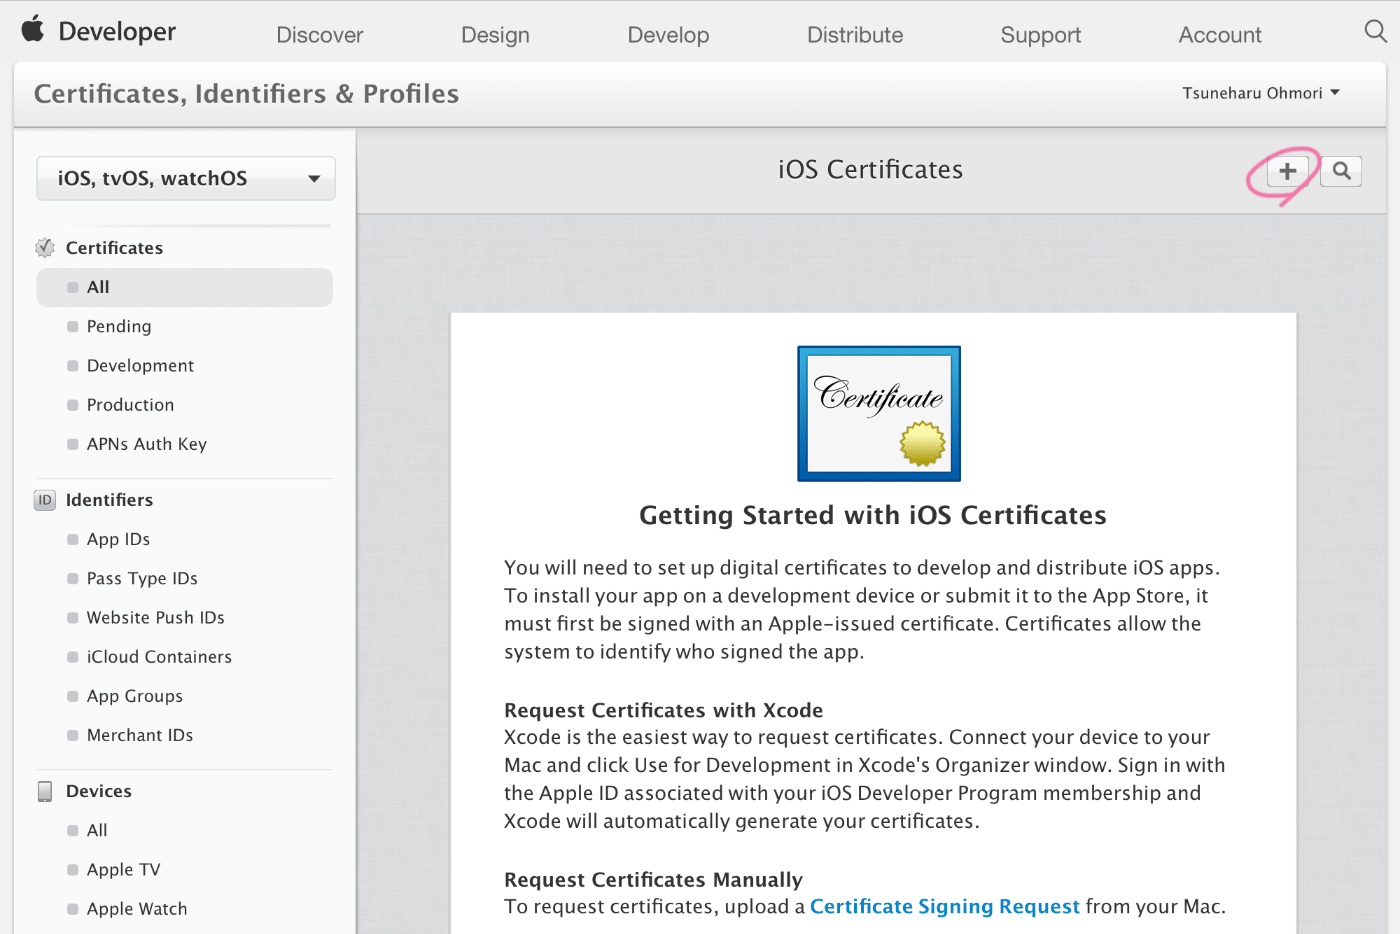
「iOS Certificates」の画面から証明書を追加します。
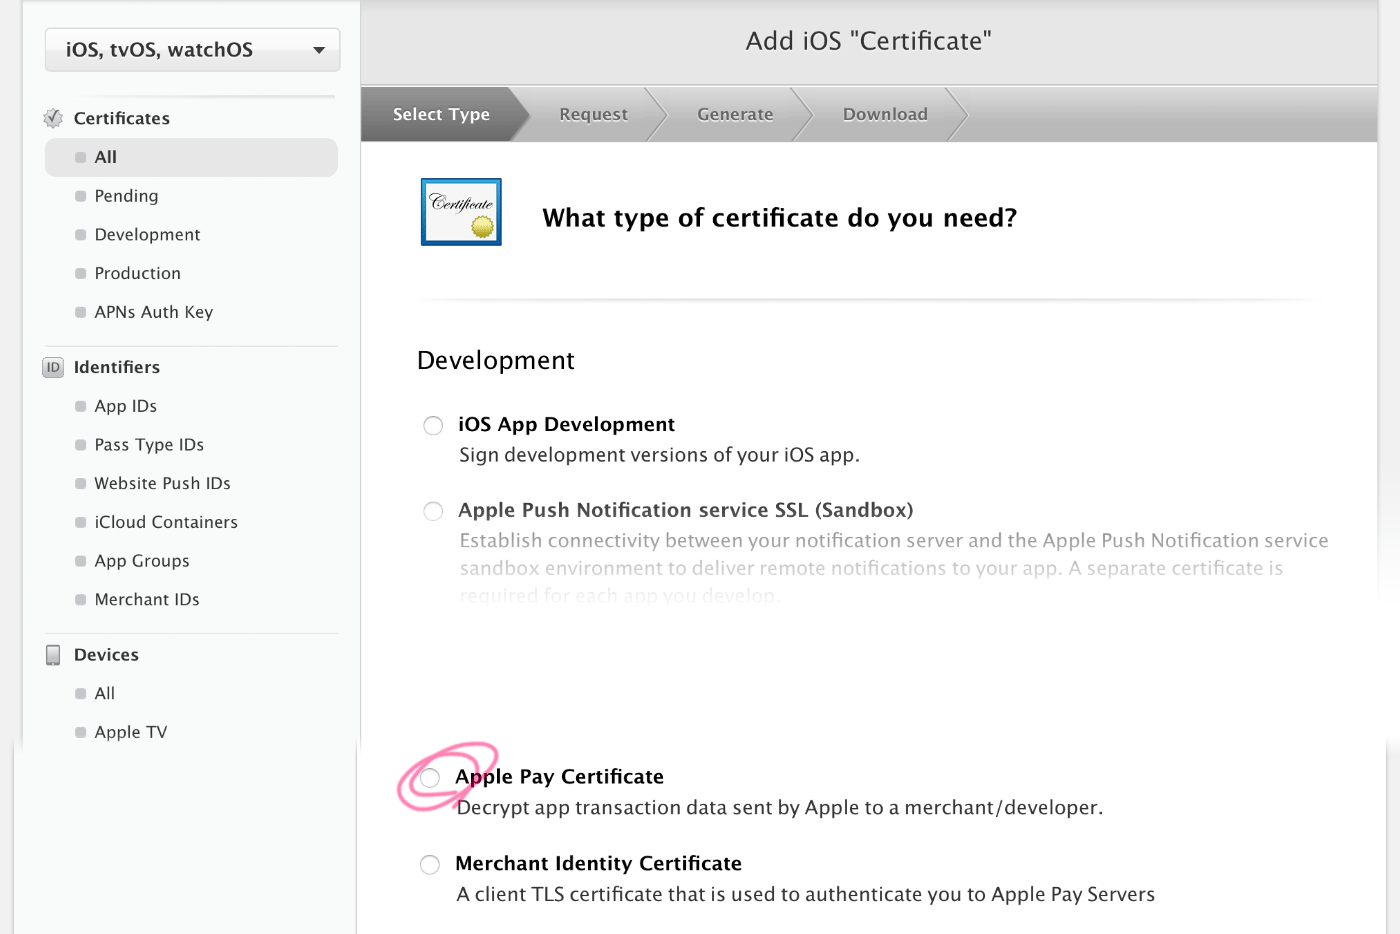
Certificateの種類は「Apple Pay Certificate」を選択します。
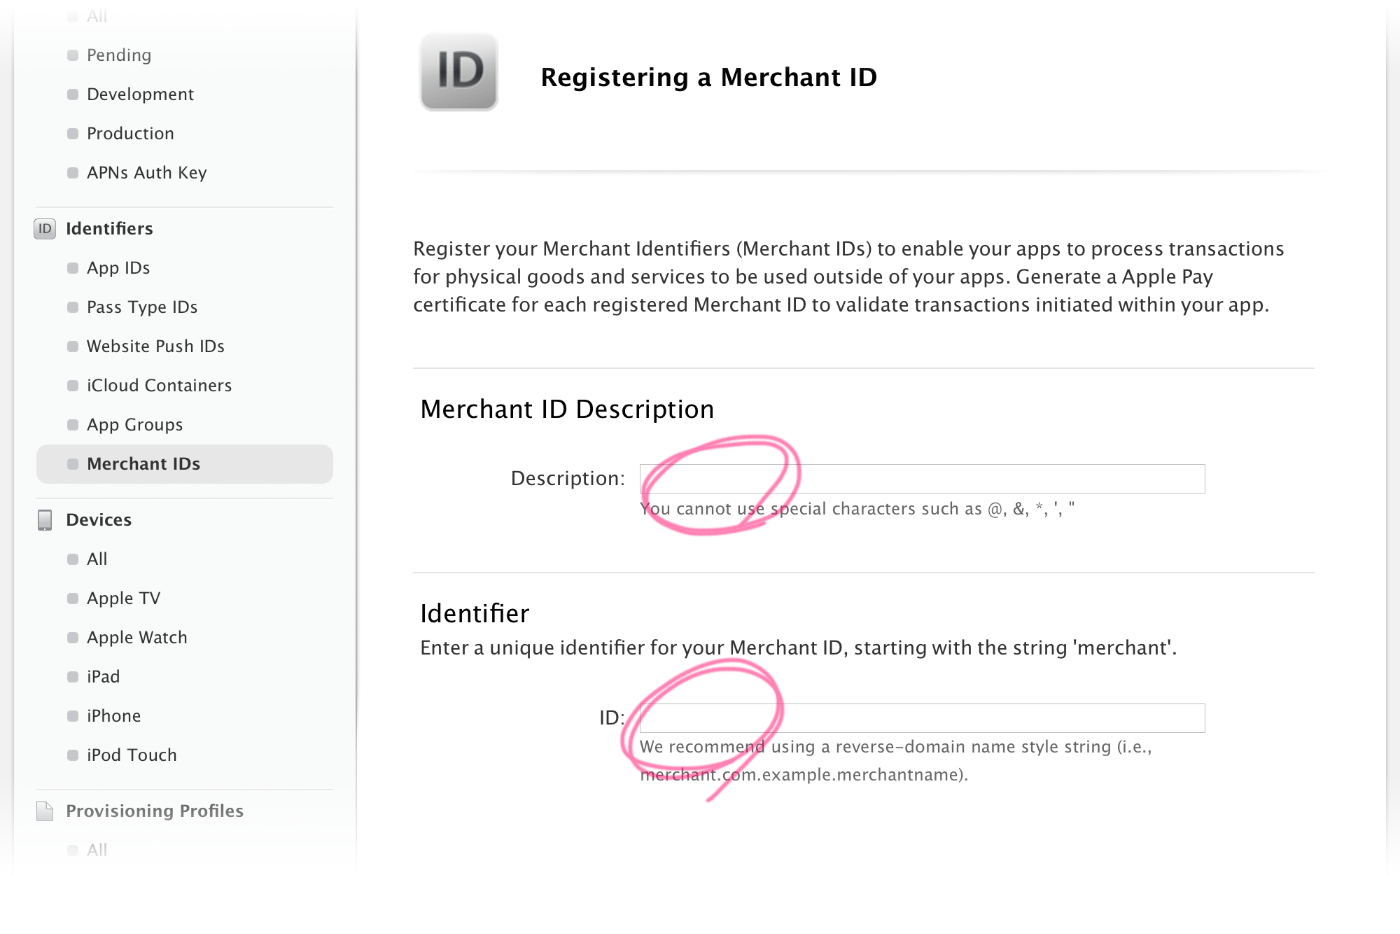
Merchant IDが無い場合は作成画面が表示されます。Merchant ID Descriptionは任意のもの、Identifierにはリバースドメインを入力します。 ドメインが「head-t.com」の場合、リーバスドメインは「merchant.com.head-t」のように入力します。
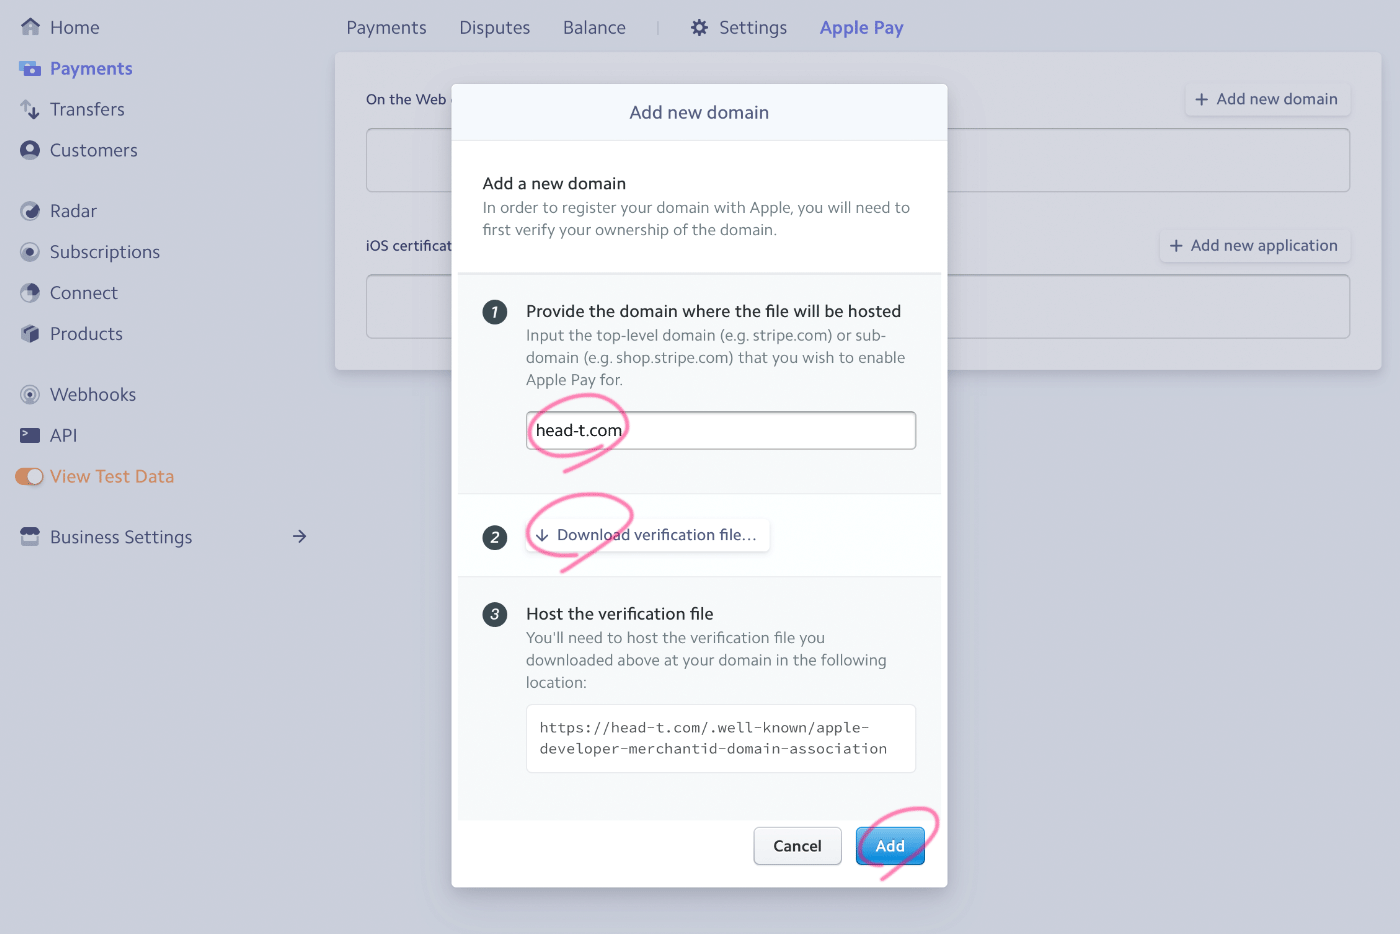
Stripeの管理画面から、ドメインを設定します。
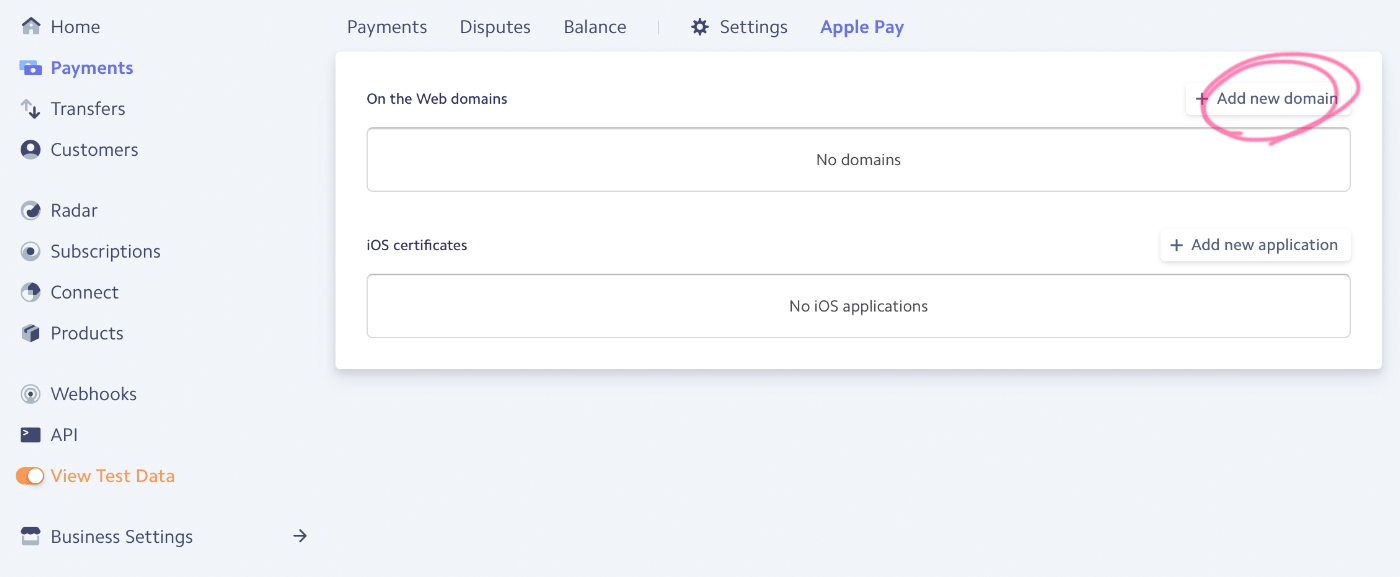
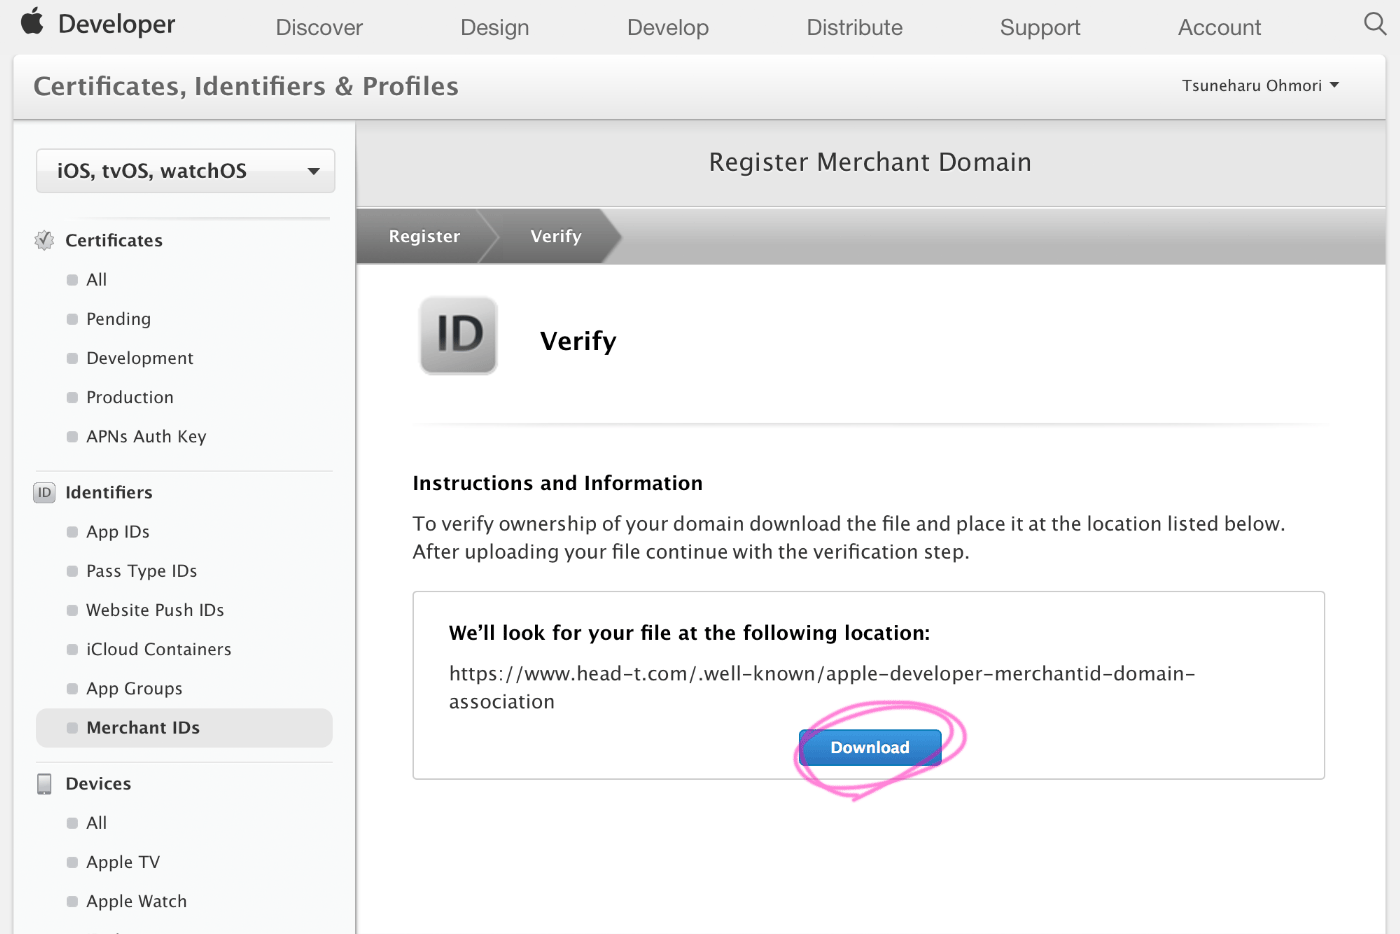
ドメイン名を入力し、「apple-developer-merchantid-domain-association」 をダウンロードします。「3. Host the verification file」に記載されている場所にアップします。
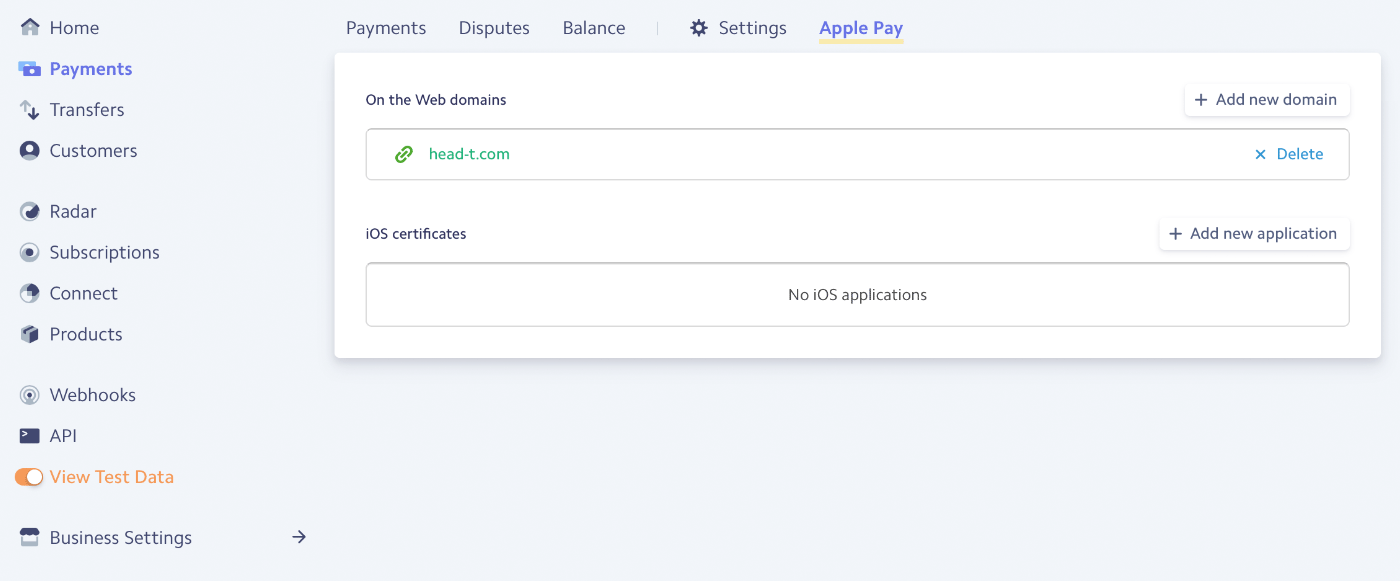
ドメインの認証は完了しました。次に「iOS certificates」の「Add ner application」を選択します。すると「stripe.certSigningRequest(CSR)」がダウンロードされます。
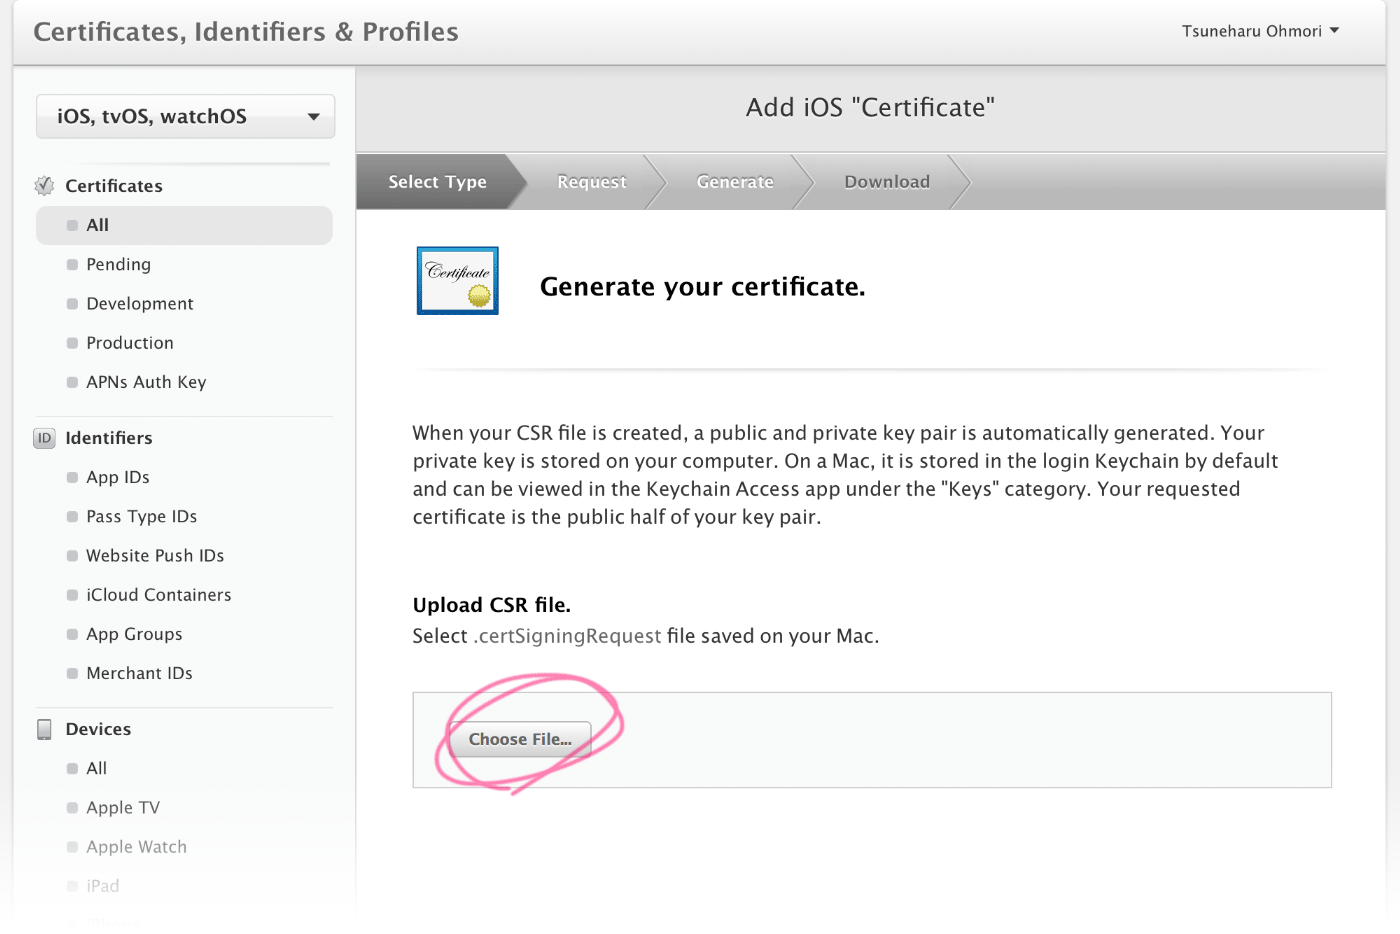
Apple Developer Program管理画面へと移り、先ほどダウンロードした「stripe.certSigningRequest(CSR)」をアップロードします。
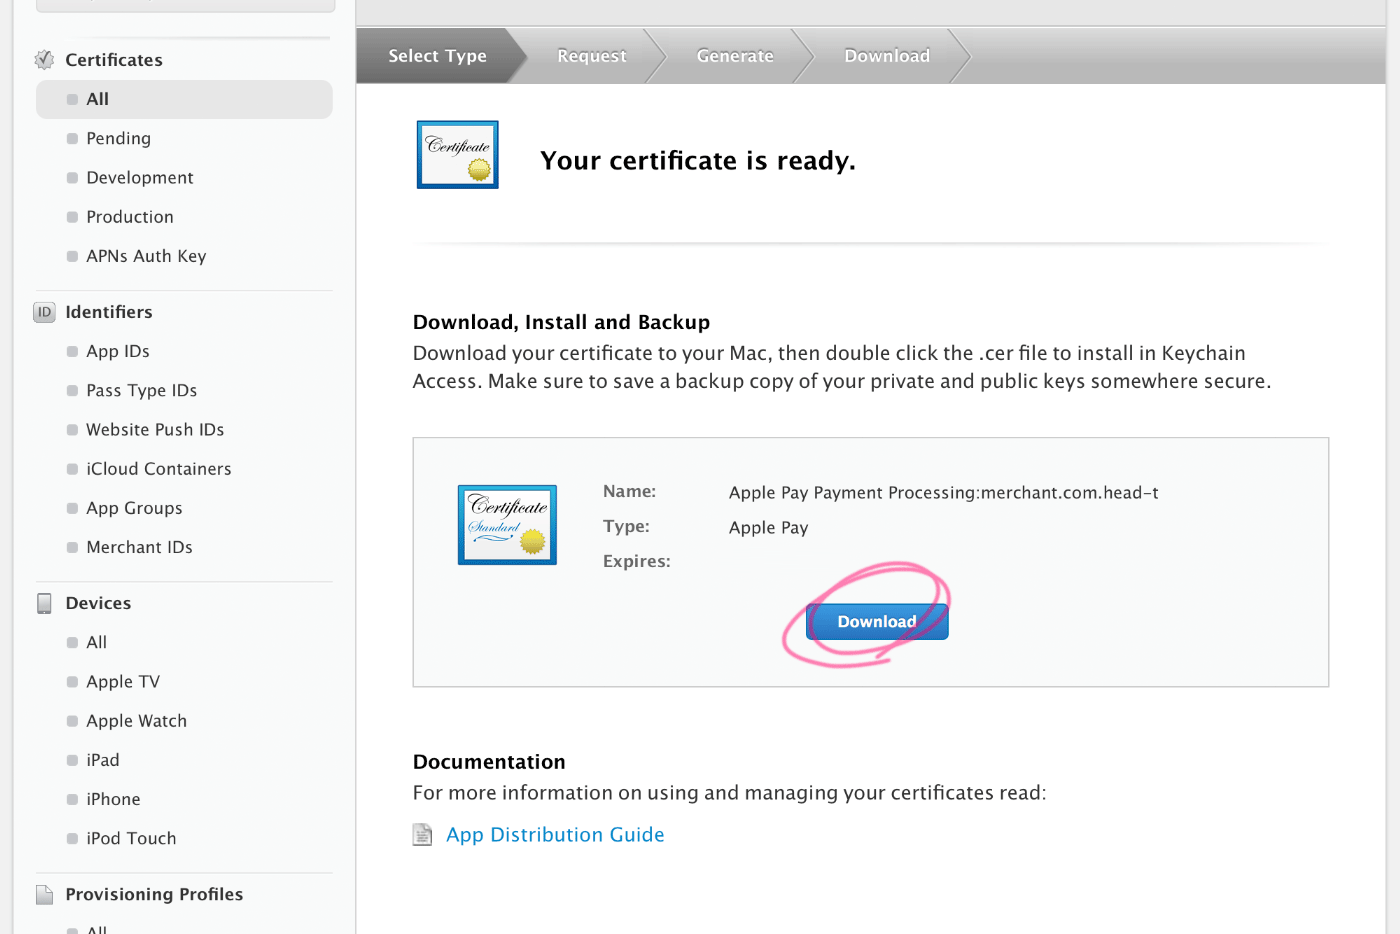
証明書をダウンロードできるようになり、「apple_pay.cer」というファイルがダウンロードされます。
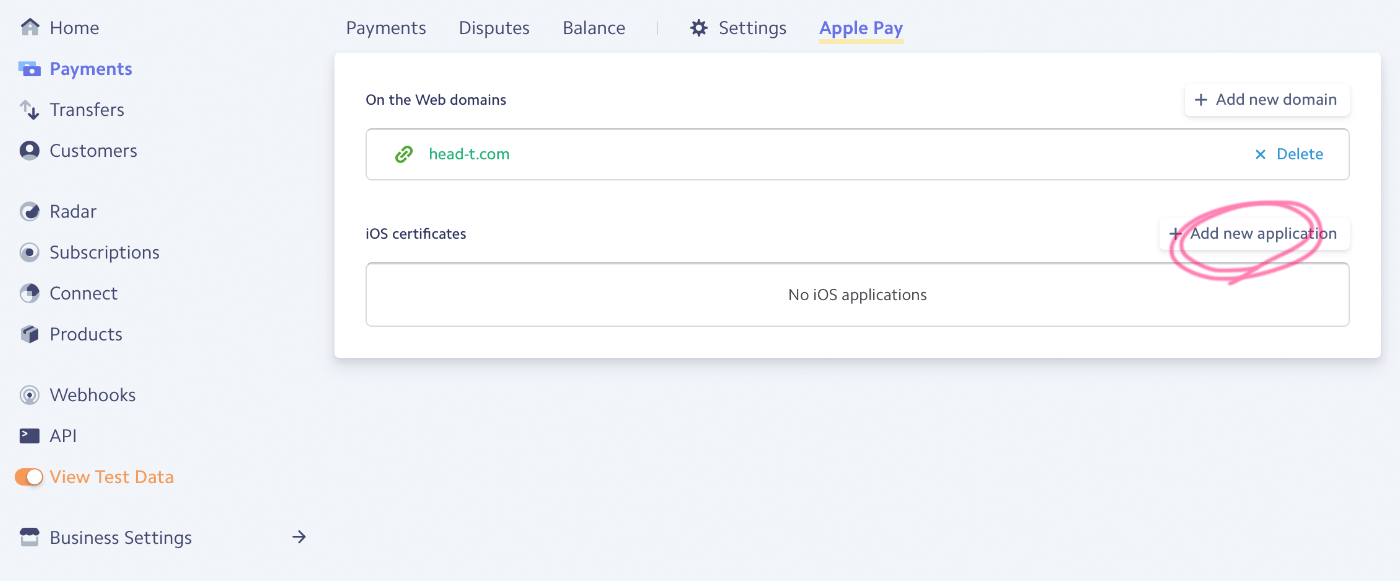
Stripe管理画面へと戻り、「iOS certificates」の「+Add new application」を選択します。
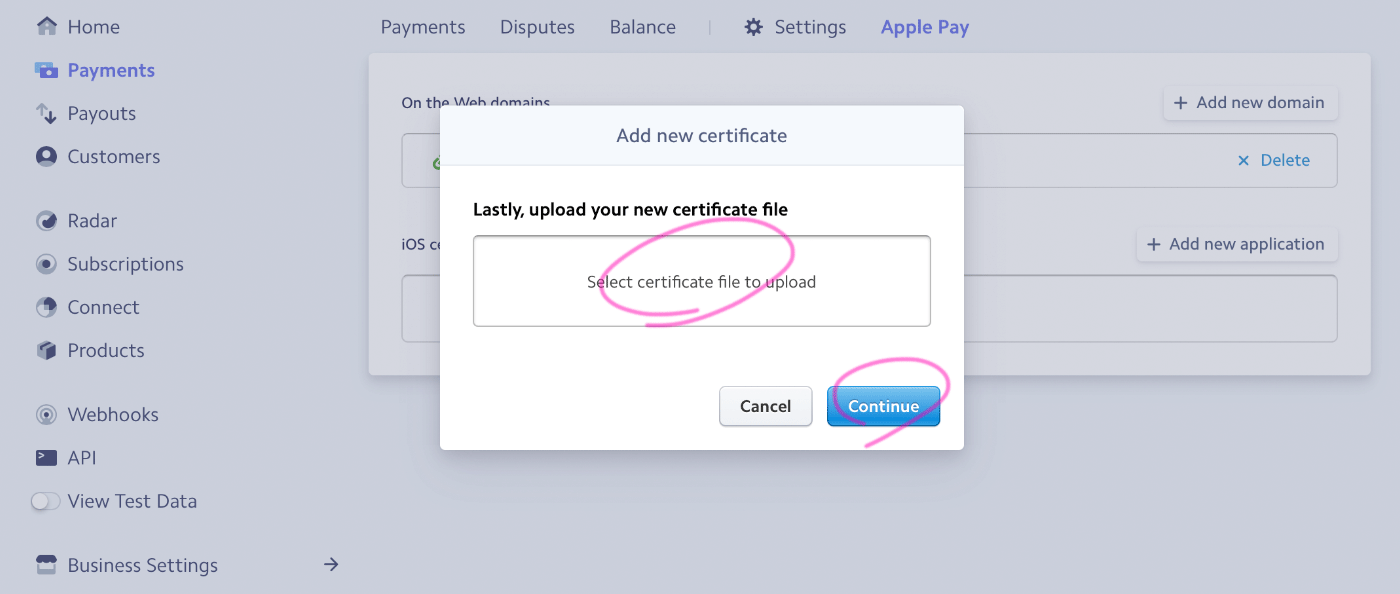
先ほどダウンロードした「apple_pay.cer」をアップロードします。
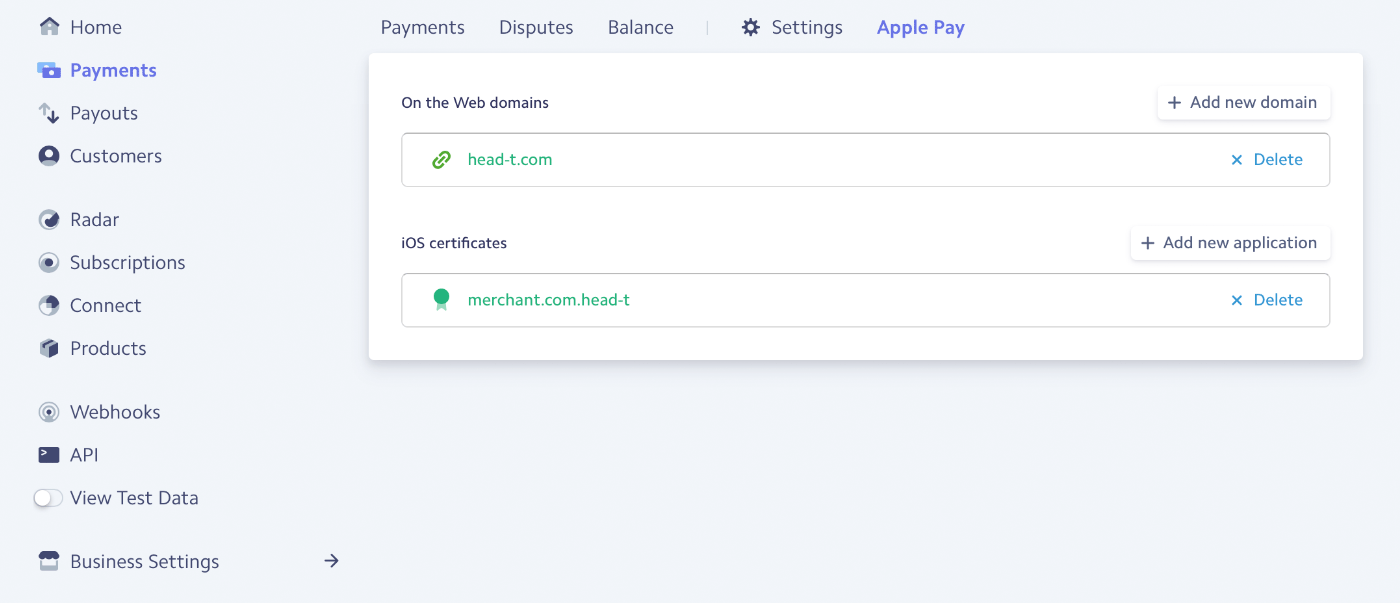
「On the Web domains」と「iOS certificates」の設定が完了しました。
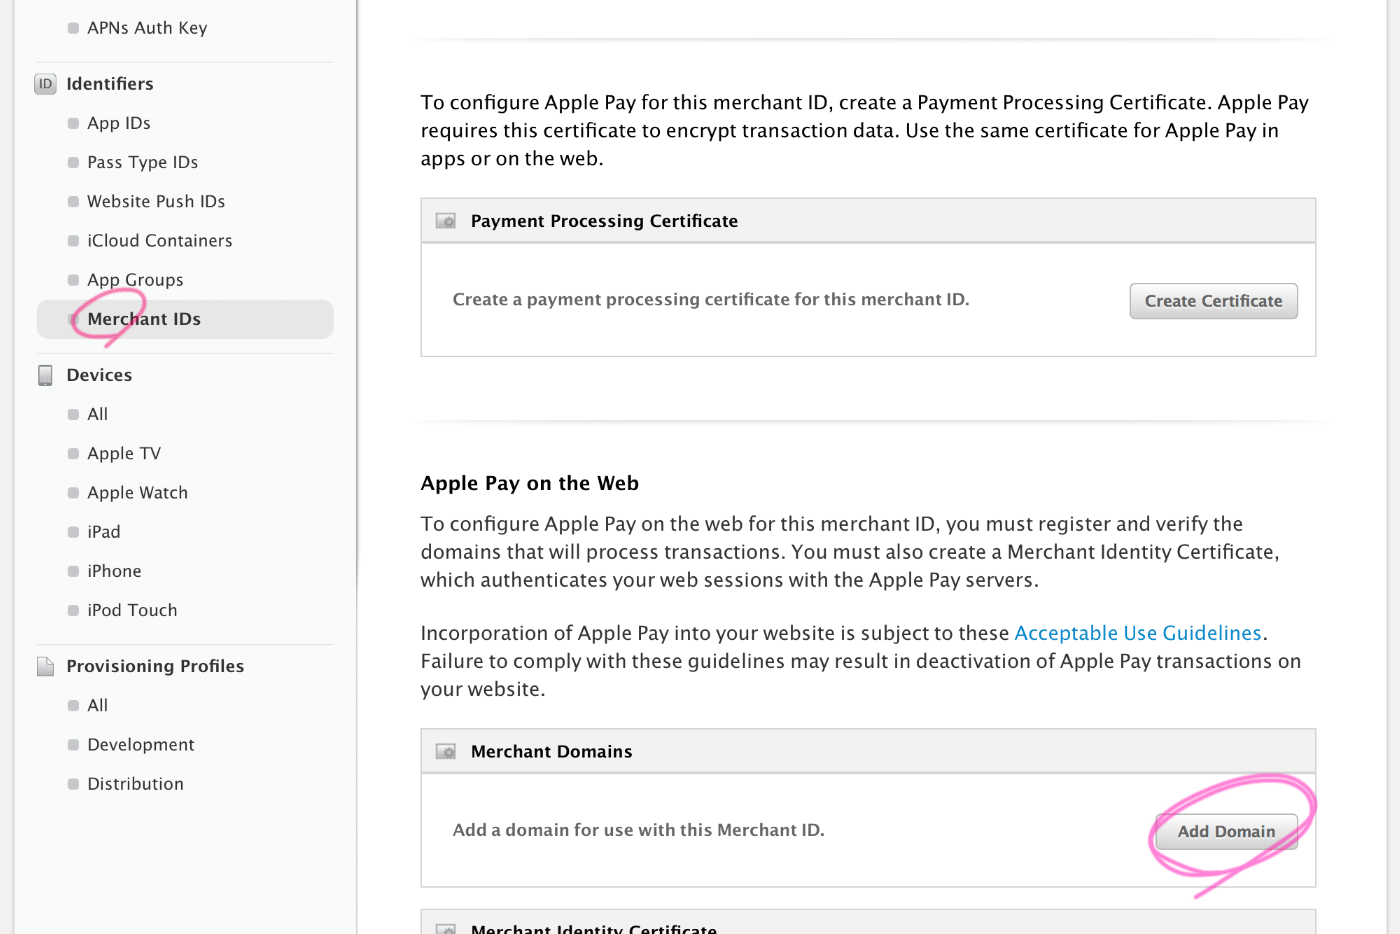
WebサイトでApplePayを使用するために「Merchant Domains」を設定します。
サーバーの「/well-known/apple-developer-merchantid-domain-association」にファイルがあるか確認します。なければアップロードします。
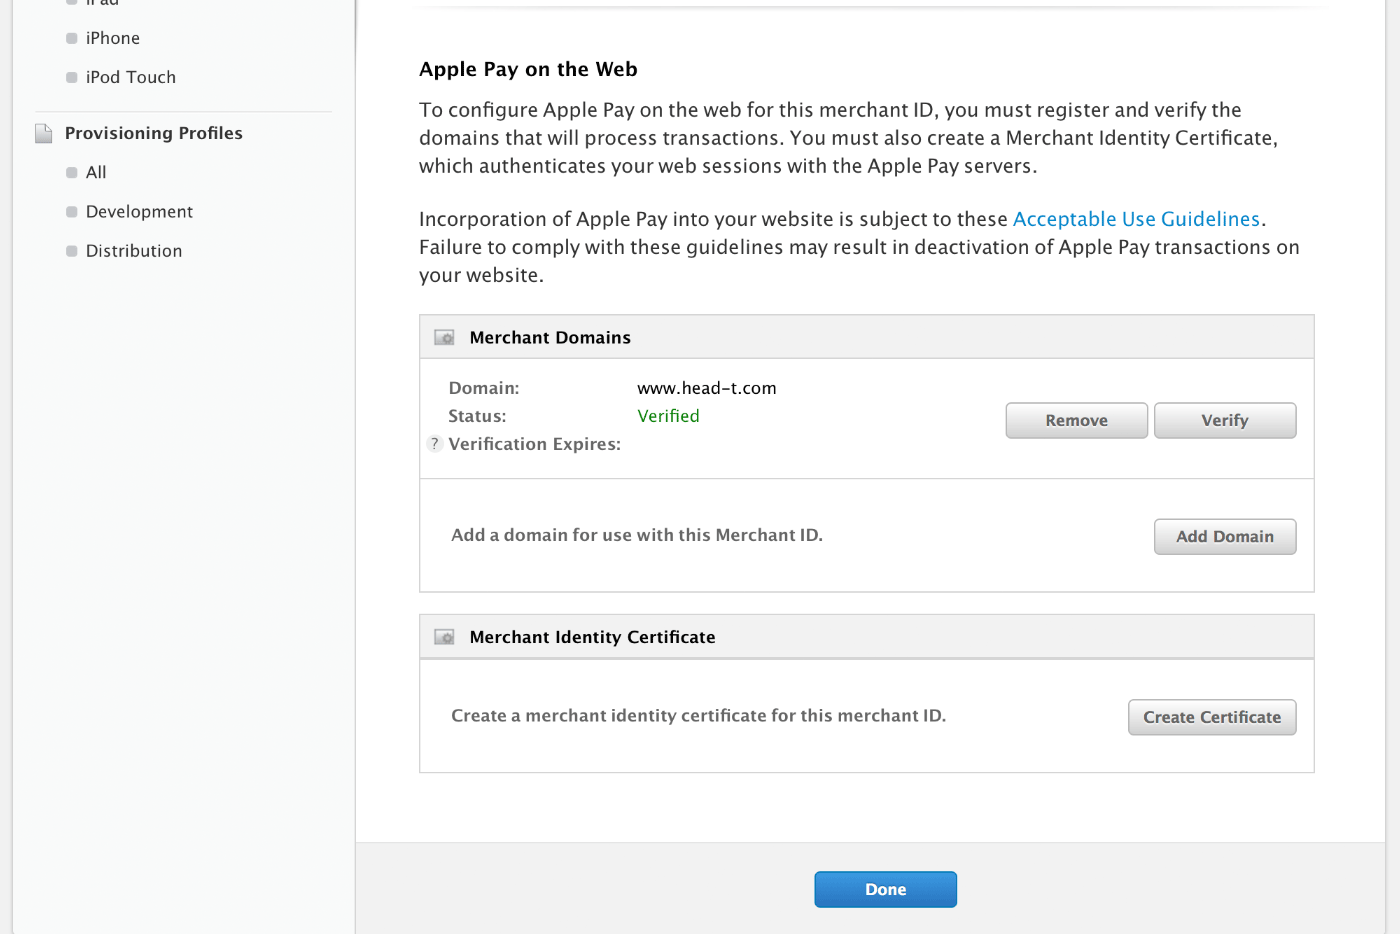
無事に承認され、設定したドメインでApplePayを使用できるようになりました。Apple Developer Program管理画面での設定はこれで完了です。
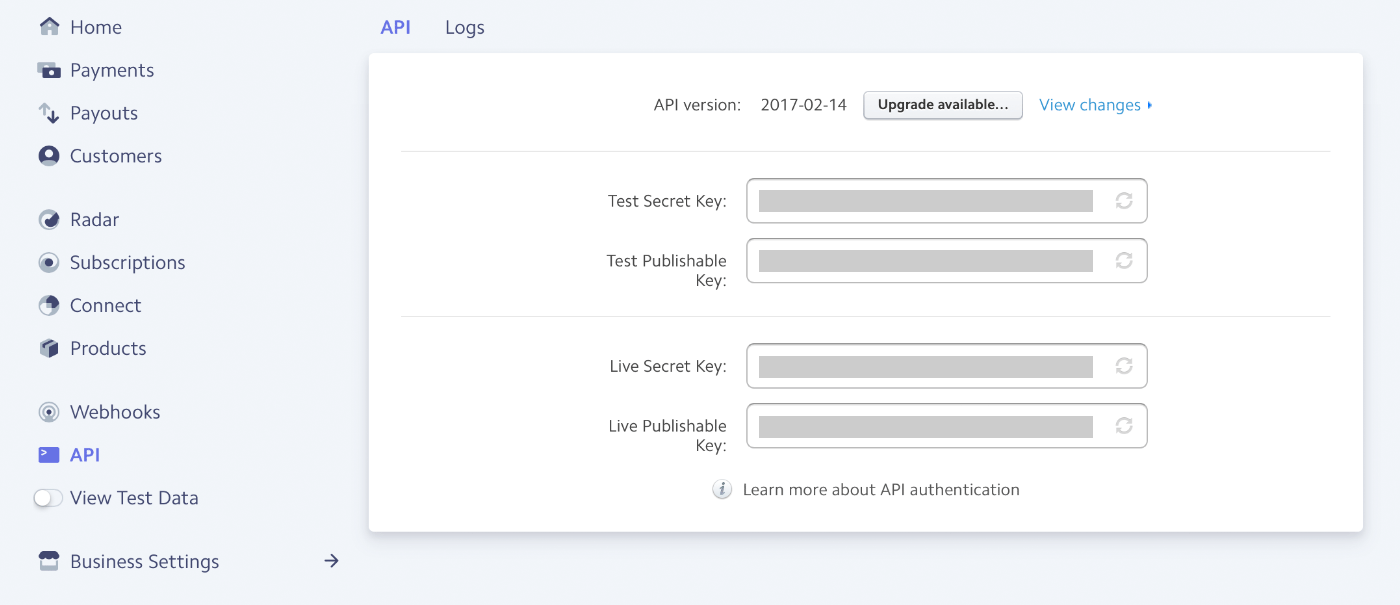
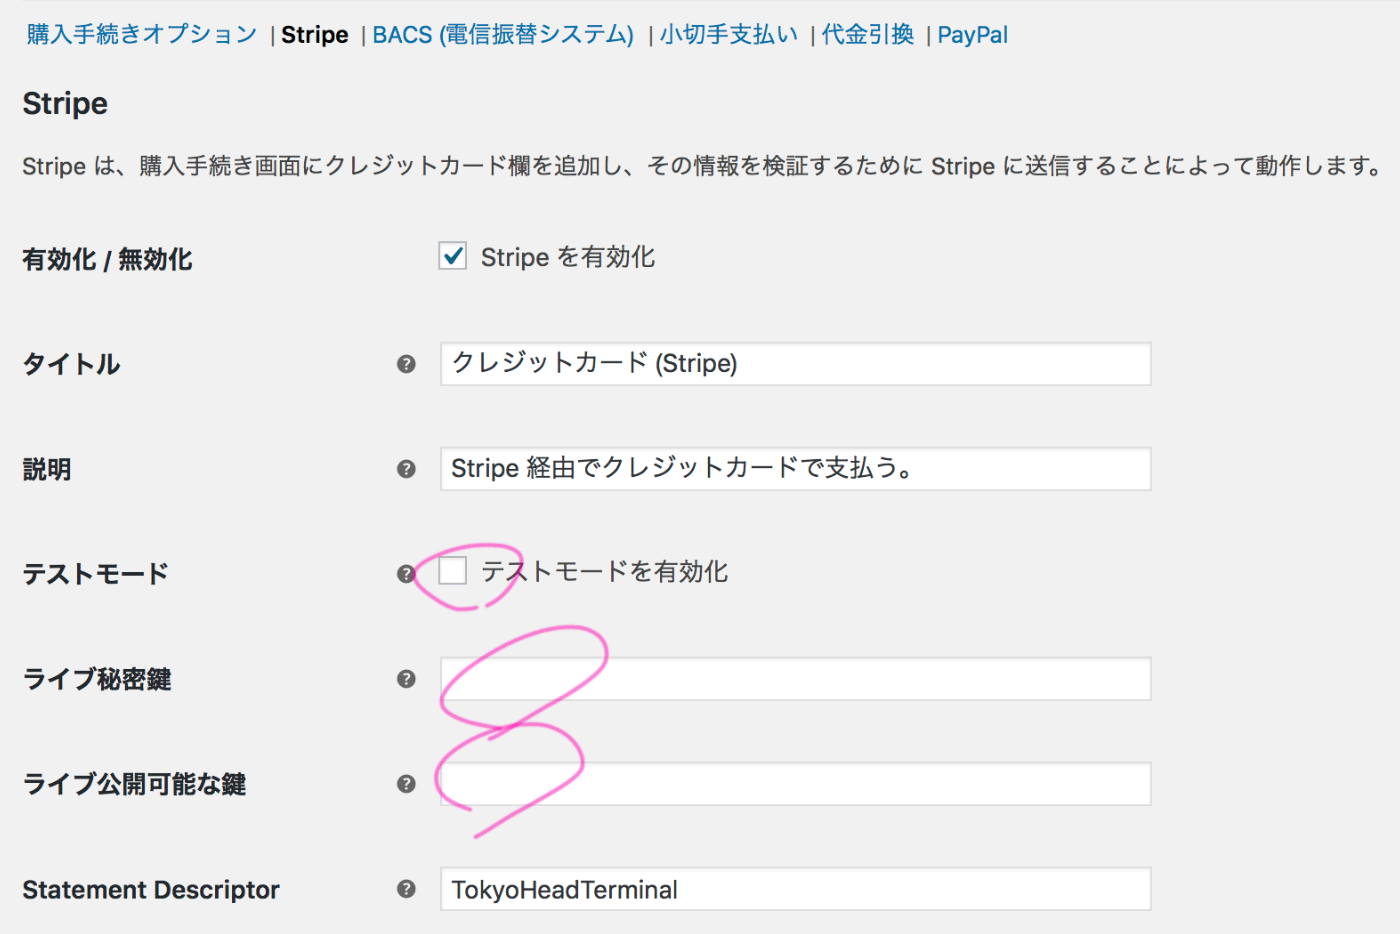
Stripe管理画面へと移り、ライブモードの秘密鍵(Live Secret Key)と公開鍵(Live Publish Key)をコピーします。
WordPress管理画面の「WooCommerce > 設定」から「テストモードを有効」のチェックを外し、秘密鍵と公開鍵を入力します。
Apple Pay組み込みの仕上げ
Apple Payのボタンを表示させるために、WordPressテーマのCSSに以下を追加します。
.apple-pay-button-wrapper button.apple-pay-button {
	display: block;
	background-color: black;
	background-image: -webkit-named-image(apple-pay-logo-white);
	background-size: 100% 100%;
	background-origin: content-box;
	background-repeat: no-repeat;
	width: 100%;
	height: 44px;
	padding: 10px 0;
	border-radius: 10px;
}
その他、Apple Pay on the Webに関するStripe公式ドキュメントはこちらです。
Apple Pay on the Web|Stripe
これで多くの環境ではApple Payの組み込みは完了ですが、現在のサーバー環境でApple Payの決済が正常に完了しないという不具合が起こりました。Stripe側の設定は問題ないとのことで、WooCommerceに問い合わせて何度かやり取りしたところ、以下の回答をもらいました。
「うん、これは特定の種類のサーバーで発生している問題だよ。いまその修正作業中で、私たちはすぐに修正版をリリースしたいと思っているけど、残念ながらいつ修正版をリリースできるかの案内はできないよ。素敵な一日を!
なので、現状Apple Payが動作しているページなどを見せられないのが残念ですが、不具合が解消されたらここに追記したいと思います。では、素敵な一日を!
こちらの関連記事もあわせてどうぞ!


いま流行りの、WordPress の管理画面にログインを試みよ…